So then, out in the US those little red reflectors on the rear bumper of the UK and JDM Gen 3 are lit. They look good at night and so if you want to replicate the look here’s a little guide for you to follow to get the job done.

Standard disclaimer time.
- Just because you can do it doesn’t mean you should.
- You follow these instructions at your own risk and I nor the Nissan cube owners club or any of its organisers or members take any responsibility for any damage or loss incurred by you carrying out these works.
- If you’re not sure get a qualified auto electrician to do the work for you.
- Don’t force anything, you can break the light housings if you hit them.
Time To Complete:
Depending on if you’ve had this area apart before and skill level approx. 2hrs. You can complete a side at a time however and you can make up the side light tails before hand to speed up time spent with the car in pieces.
Tools
• Large flat blade screw driver (for popping body clips).
• Small flat blade screw driver (for separating wiring plugs).
• Socket set with an extension bar.
• Wire cutters/ Sheathing remover.
• Soldering iron and solder, cable crimps or skotchlocks.
• Drill with pilot and step drills
Parts/ supplies
• Sidelight bulb holders (new from stores like thetoolboxshop.com or from a breakers yard)
• Some wire (colour coded for your sanity although you could use one colour if keeping costs down.)
• Electrical tape and shrink wrap (can use tape purely but you have the shrink wrap option.)
• Possibly water proof fuse holders but this is up to you.
• Bulbs to suit the holders.
So first things first, make sure you have any stereo codes you need and disconnect the battery. You’re going to be working on the electrics and I don’t want anyone fried!
Next head to the back of the car and start stripping trim. To get the rear markers out you need to take out the rear wheel arch liner. This has 3 press clips (pri the centre up with a screw driver until it pops but doesn’t come out completely then use that to pull the stud free of the panel. These are usually grimy and so harder to get out than others), 2 in the wheel arch and one below through the rear bumper. It can be done without removing the wheel but it will obviously give you more space if you take it out. Once this is out the way give the are behind a good clean out as it will be full of crud, nothing to do with fitting the lights, just nice to have a clean car!
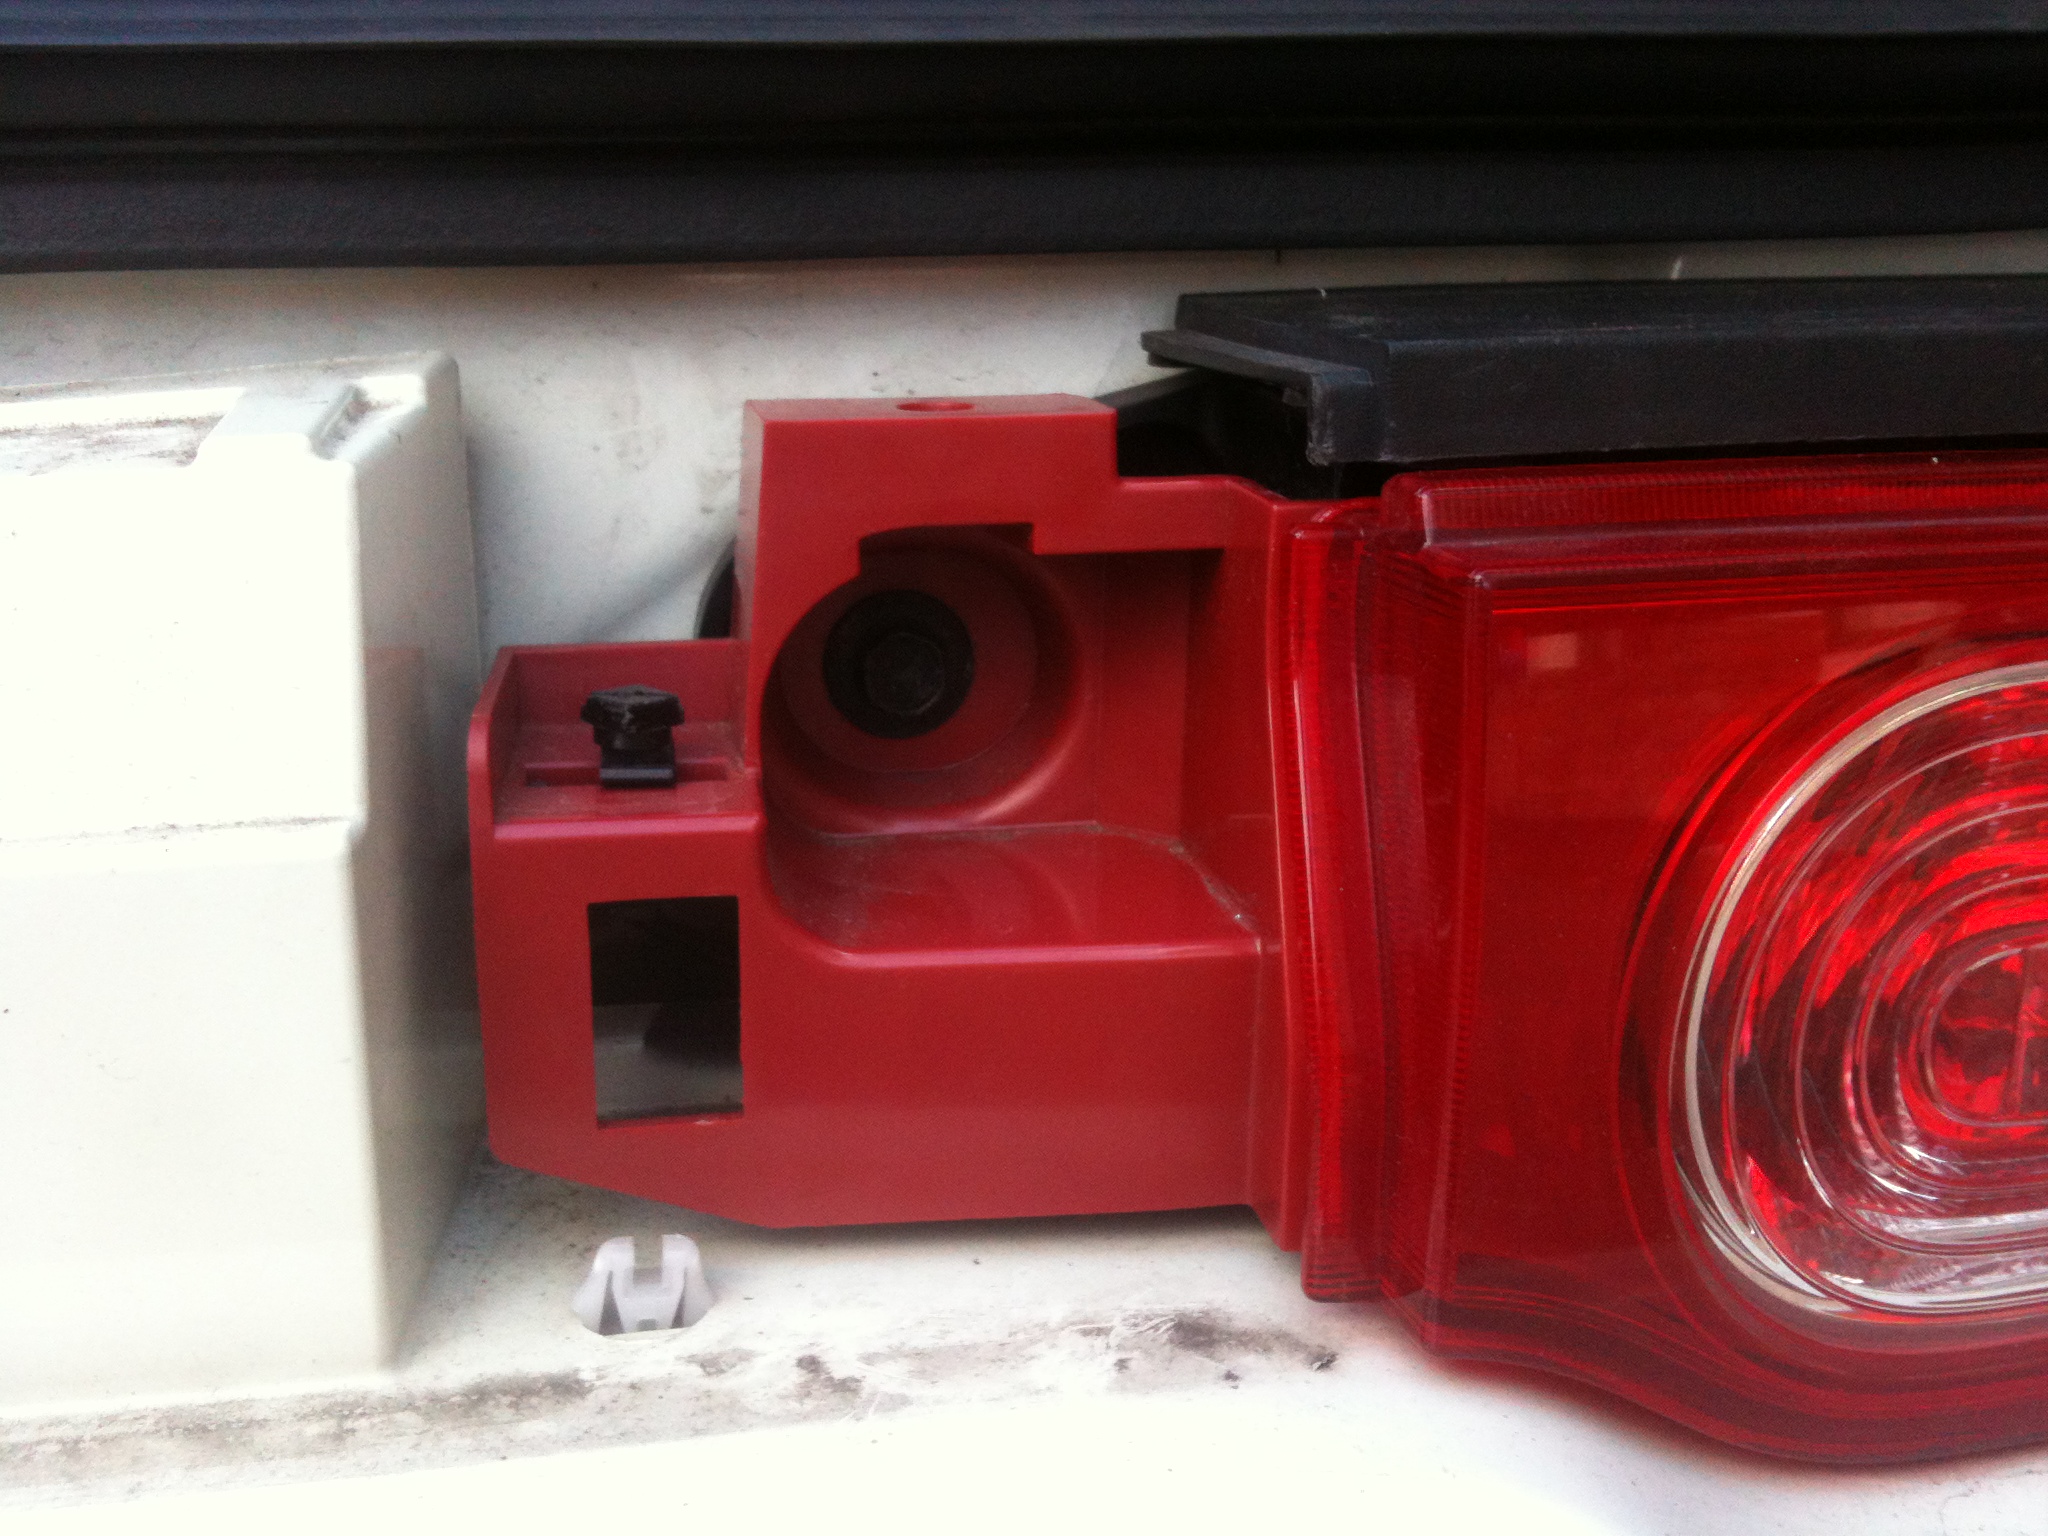
Reaching into the bumper you should feel the back of the rear marker and on the top side side a larger tab. Press it slightly and the unit will pop free.

To remove the rear light housing open the rear door and take off the centre top finisher. This is 2 press clips removed as before.

Removal exposes the fixings for the cube logo finisher which is removed by quarter turning the 2 square pegs on the left and right. THESE AREN’T SCREWS! They will break if you try to turn them more than as far as aligning with the hole. Once the panel is free remove the clips from the car body and install them in the trim panel as it’s far easier to push the panel back on with them this way around.

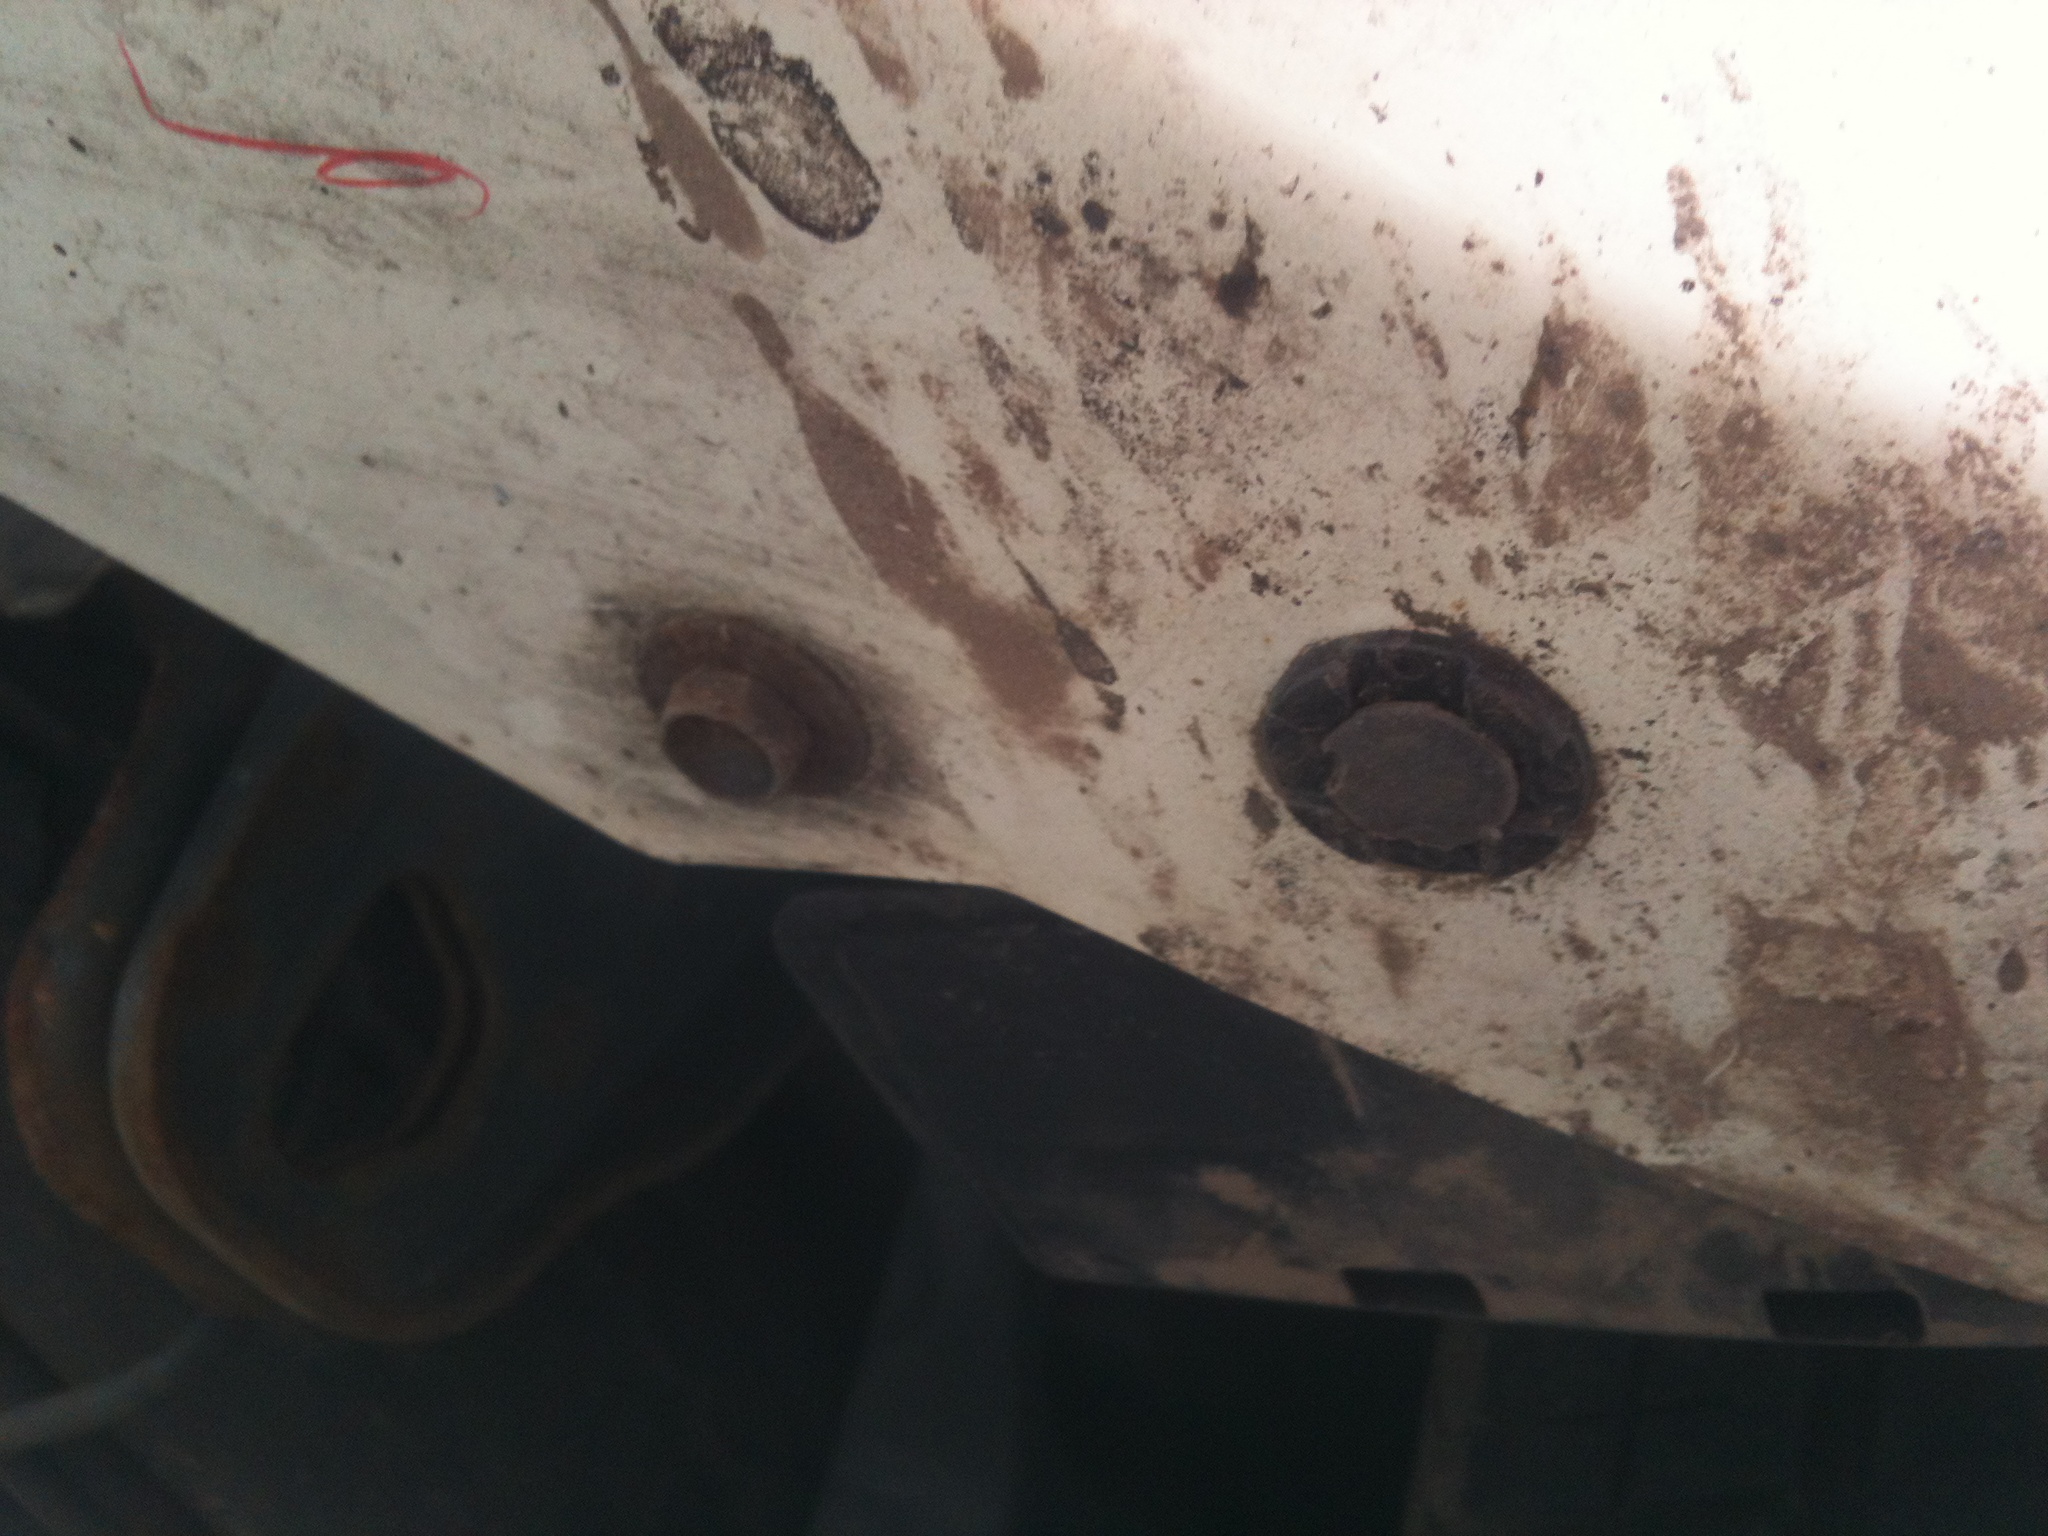
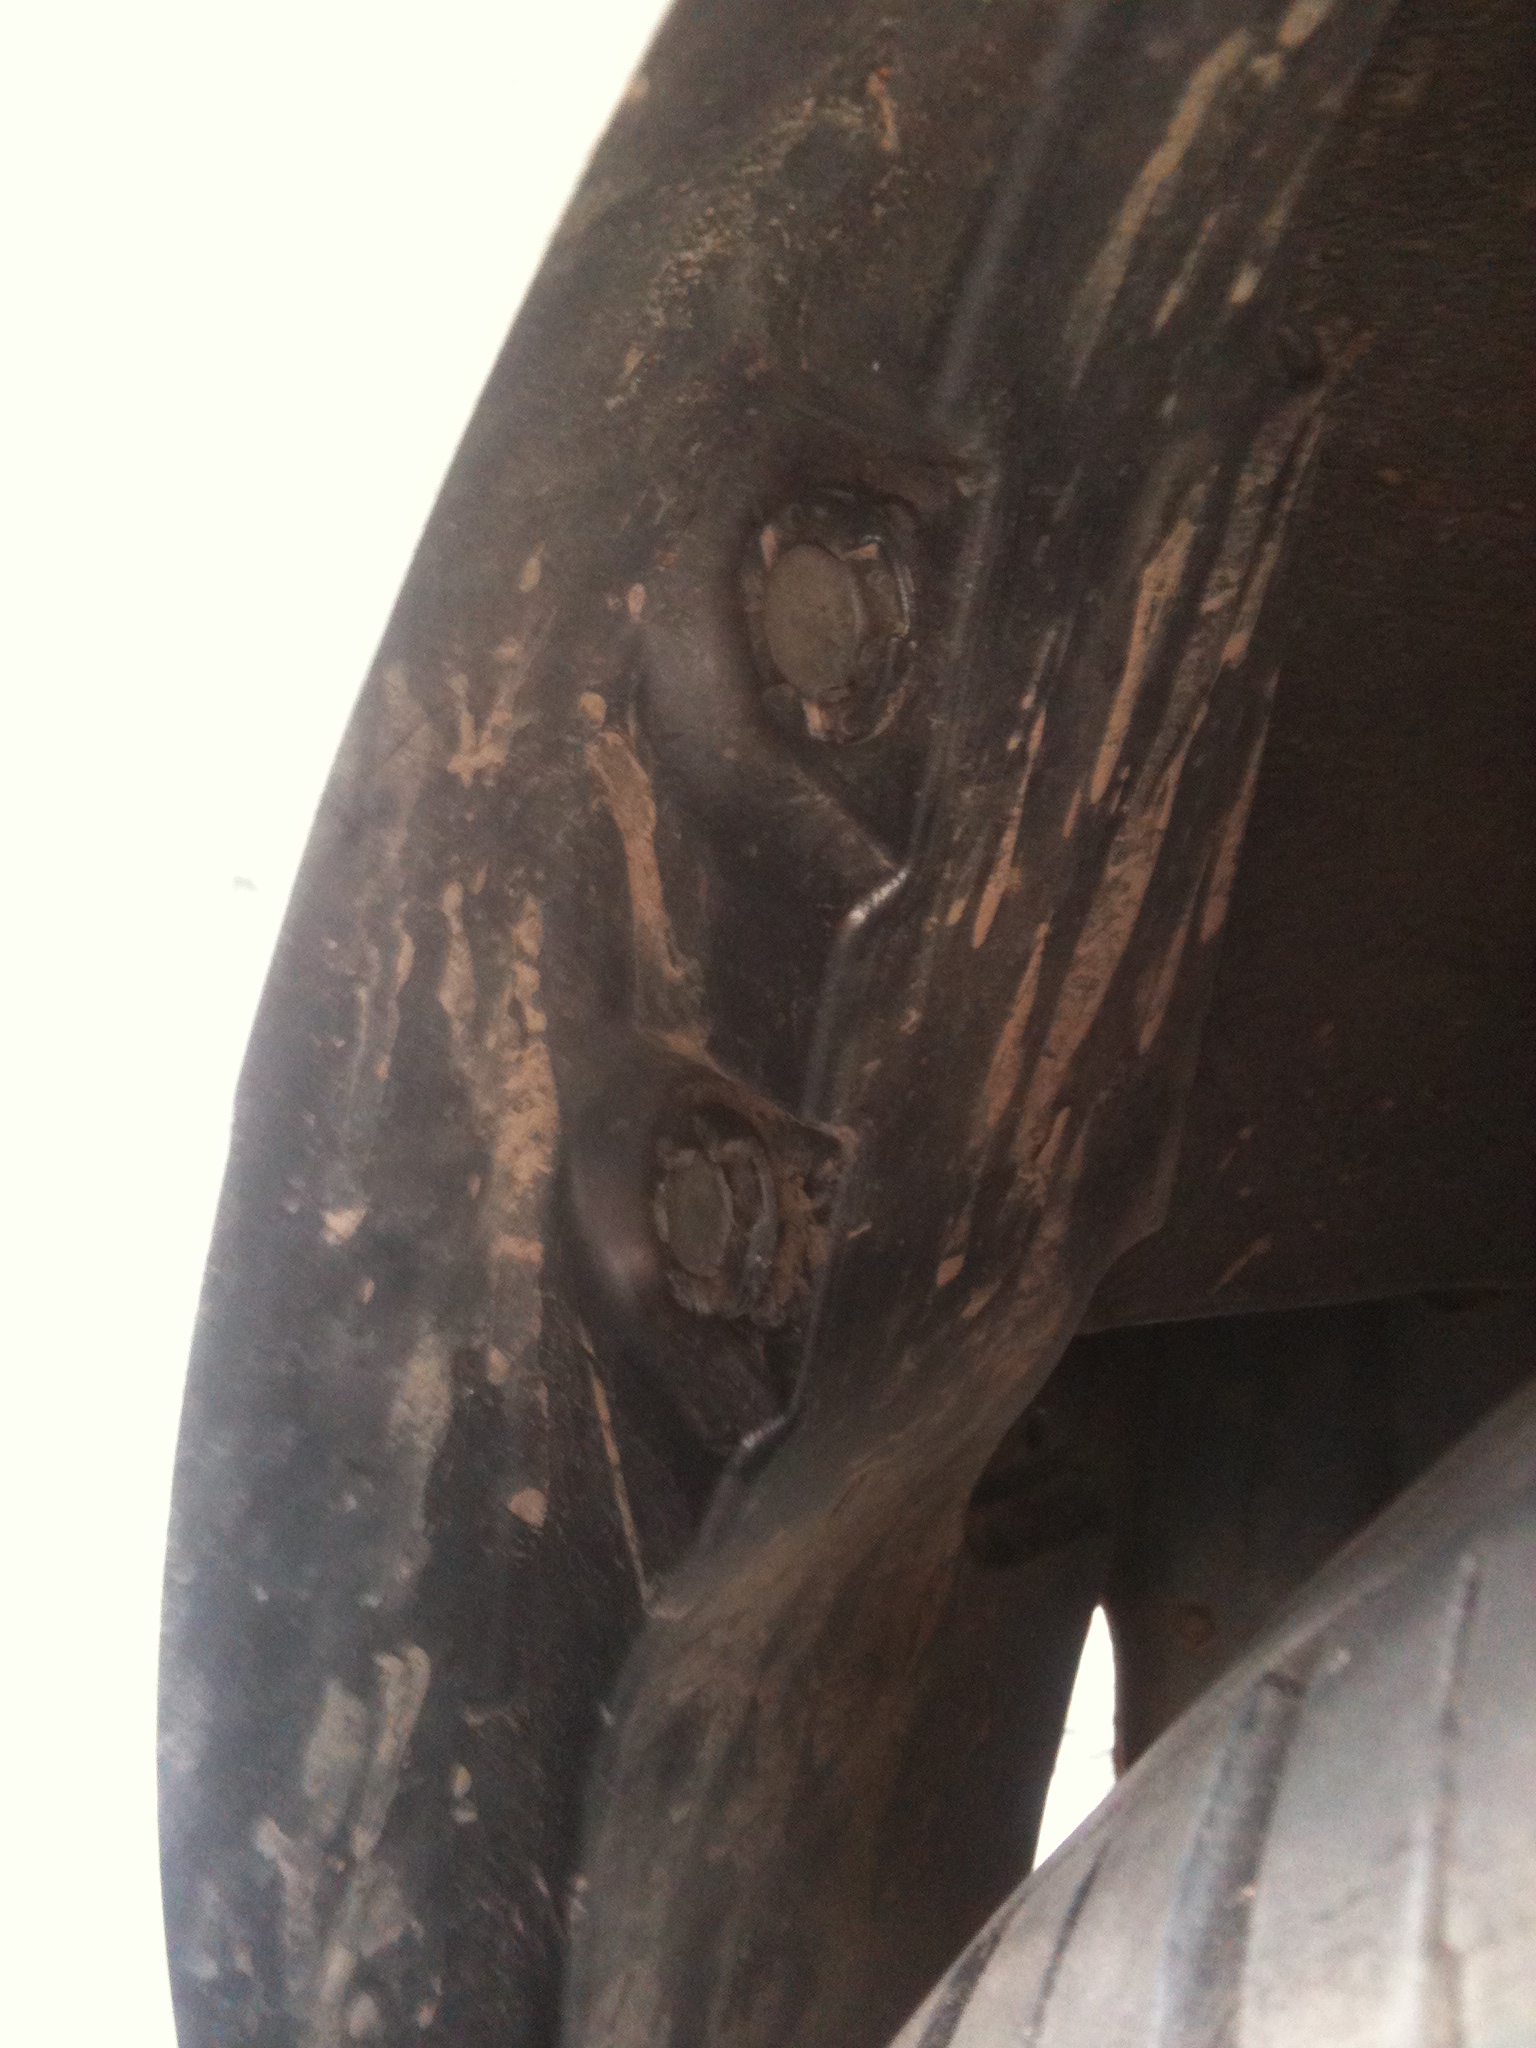
You can now see 2 bolt heads (one at the end of each light) and these are the final solid fixings. Use the socket set to undo these and then it’s just fingers to pry.
The light unit is now free apart from some small clips in behind the unit that free as you prise the unit out. Starting at the centre of the car gently pull the unit free until you can get a grip of the unit at the top nearer the outside of the car and gentle ease it out. They are fairly stubborn to free from the body but they will come with the last clip being top outer edge on the light.
Once free check that the clips have pulled free of the holders and not the holders free of the car. It’s not a problem if the holder has come out the panel but it’s not possible to put the light back in with the holder on the clip so you need to take it off and put it back in the car before you reinstall the light.
To fully remove the light from the car use your finger or small flat blade screw driver to depress the clip on the loom plug and separate the wiring loom from the unit.
You should now have light units and side markers that you can take to a work bench to get the wiring done.
Fitting the bulb holders
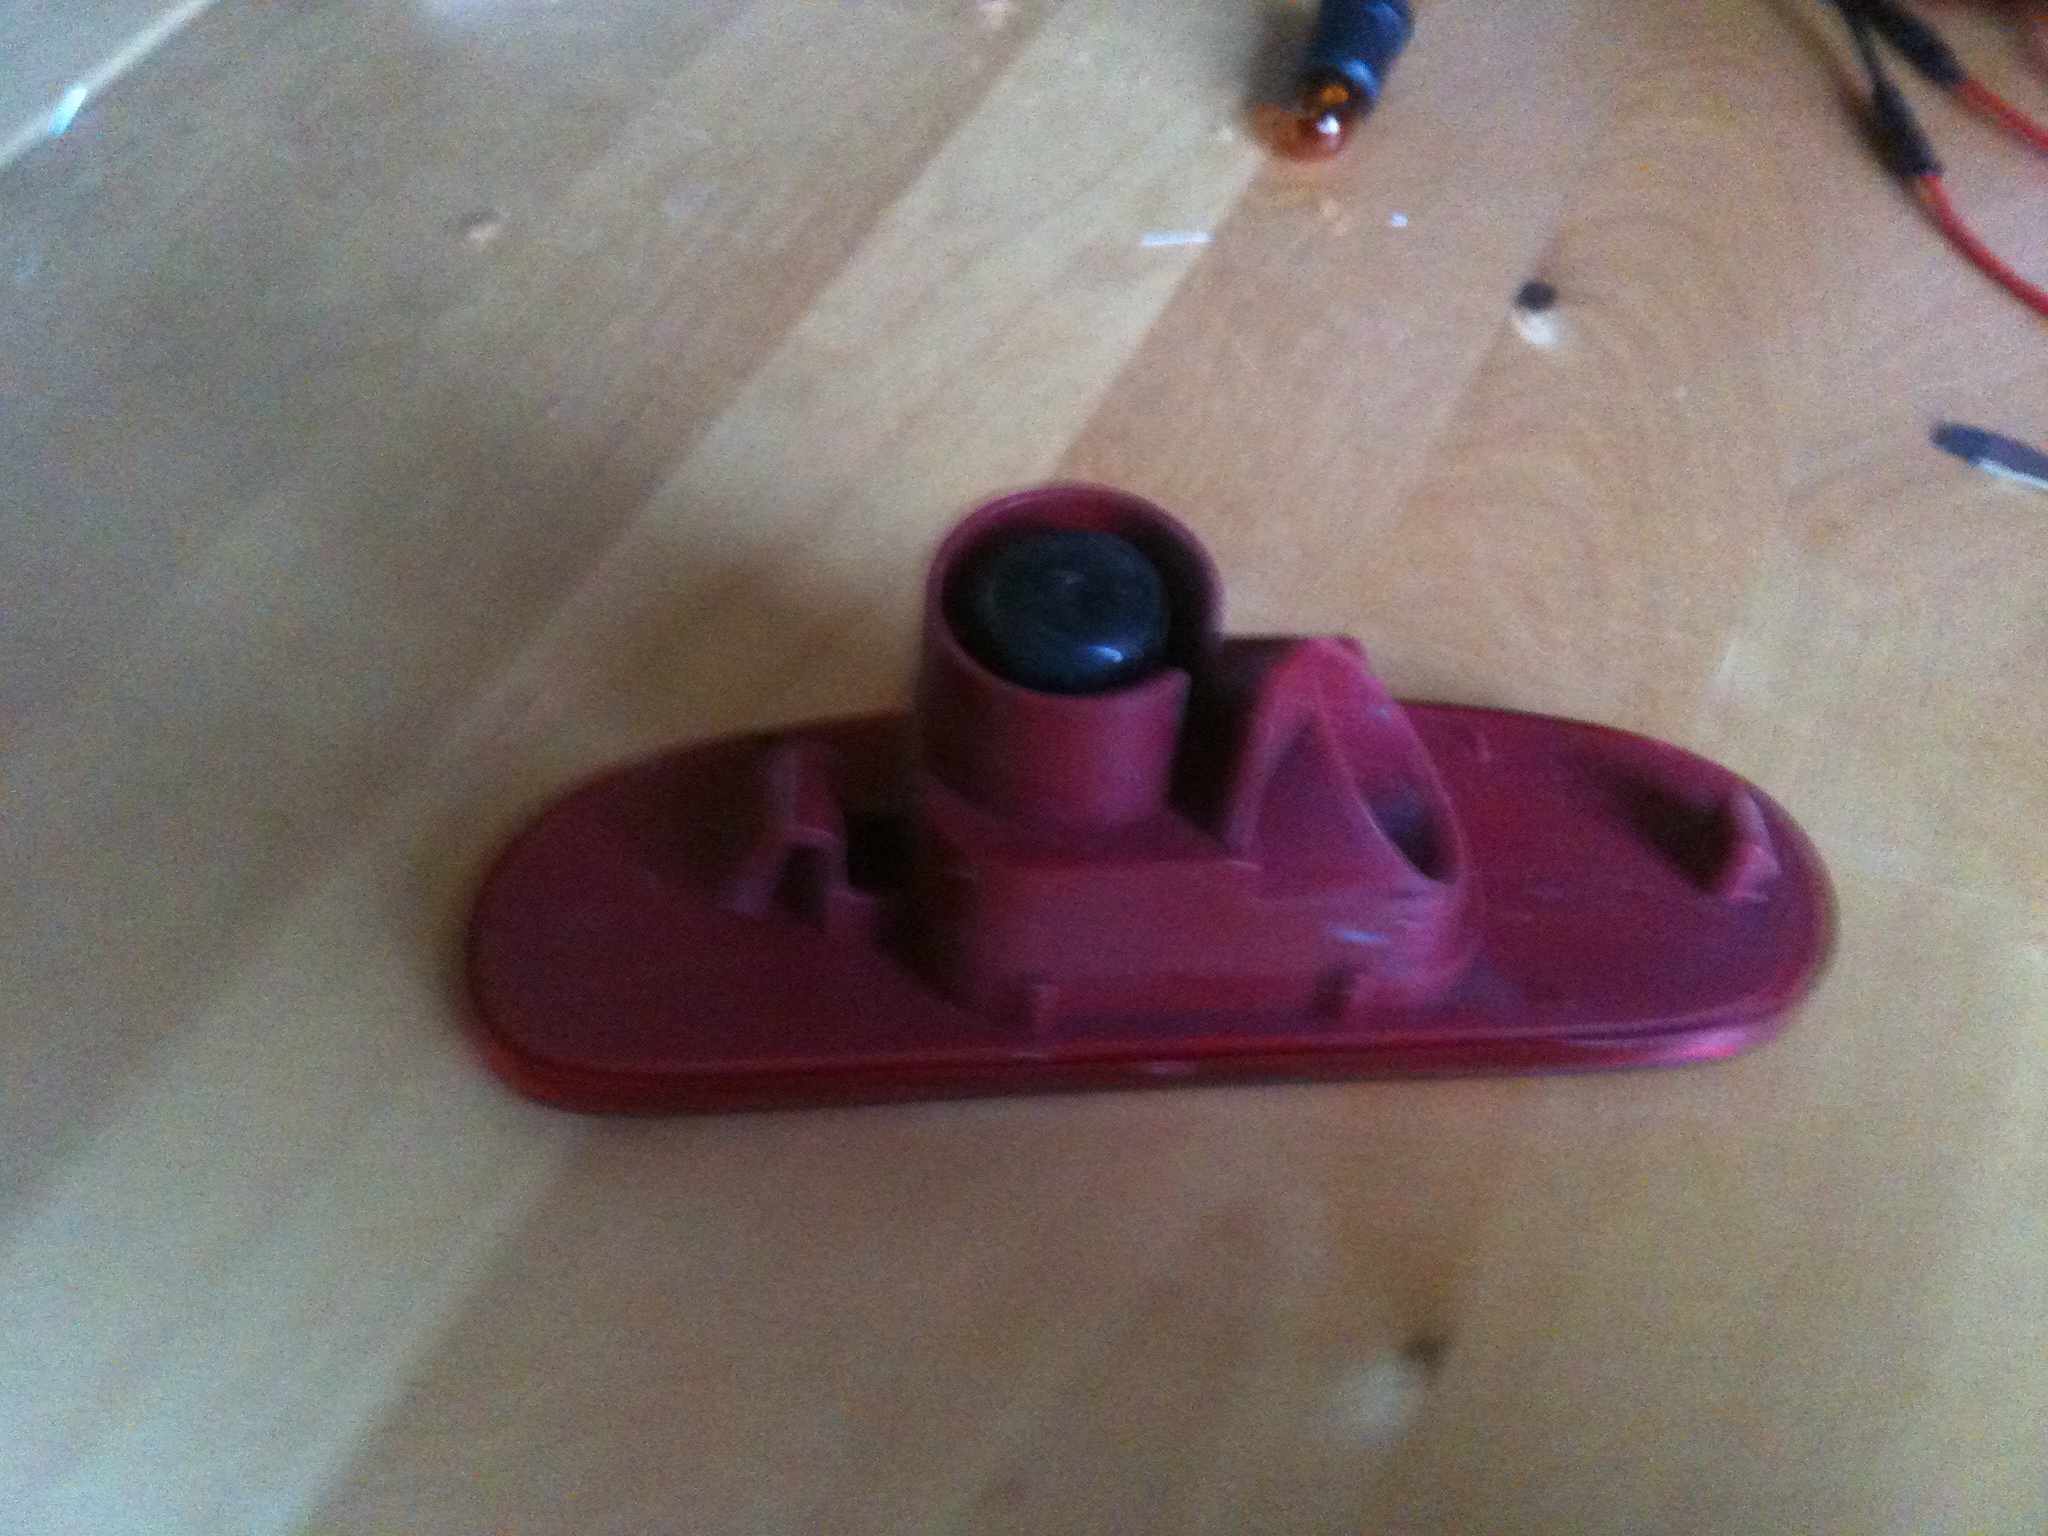
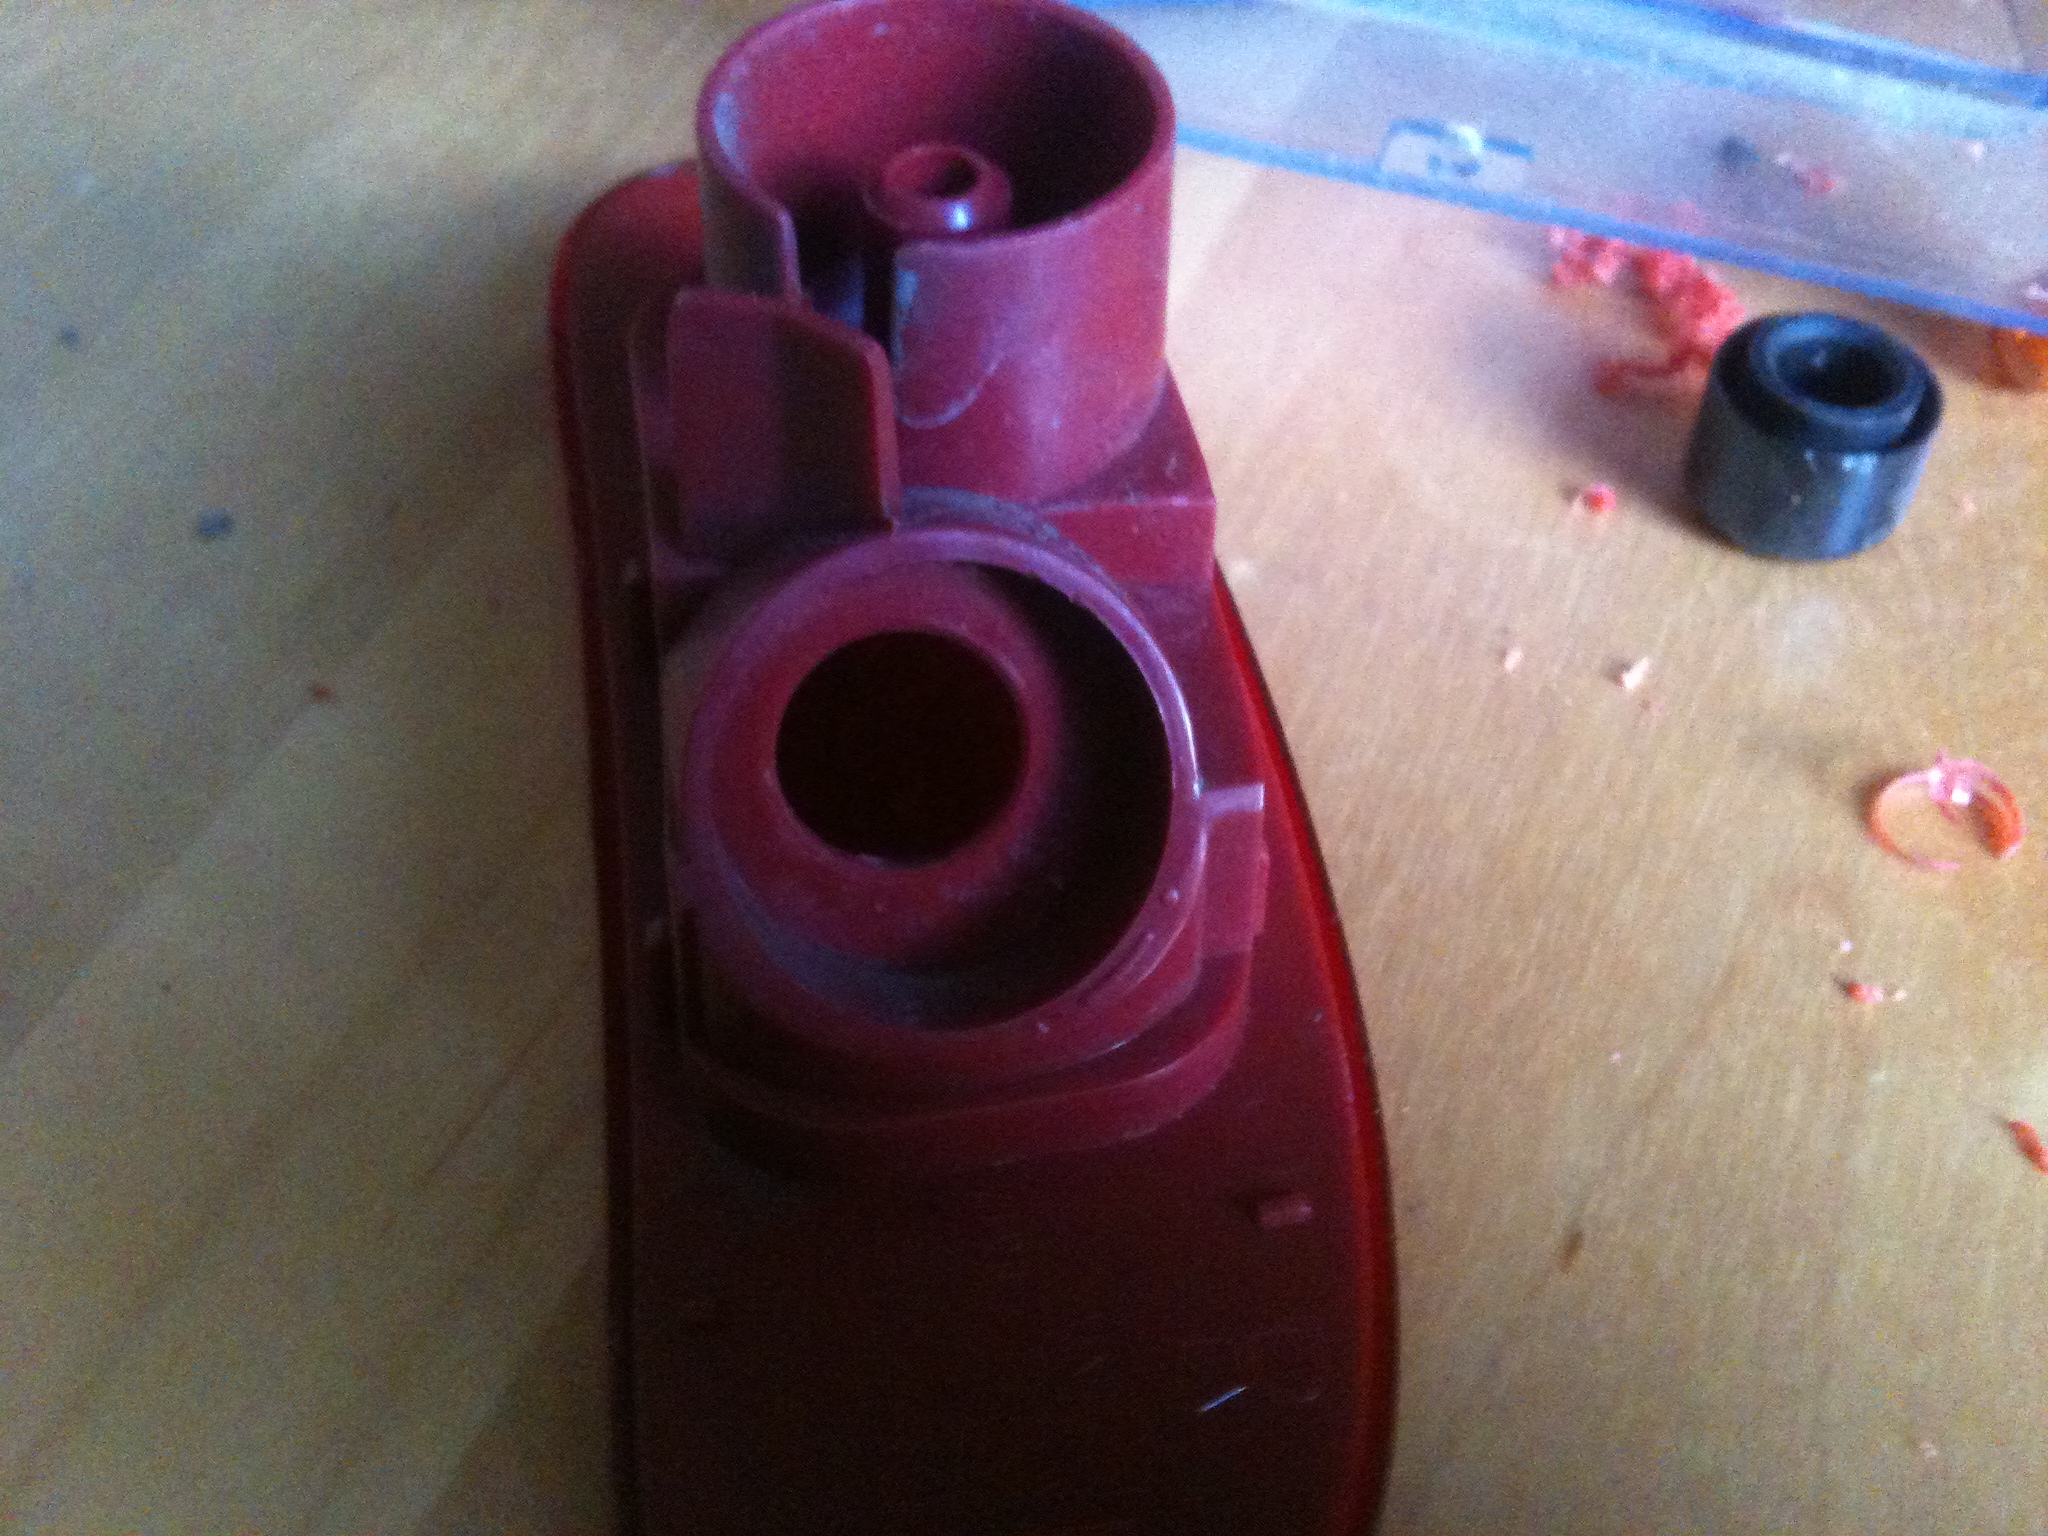
There are 2 circular positions on the rear marker where it appears the bulb could go. One has a rubber cap and one an injection mould point. The rubber cap is usefless as the spigot underneath makes it impossible to drill a hole and you risk damaging the side marker if you shoot through and hit the inner face of the marker.
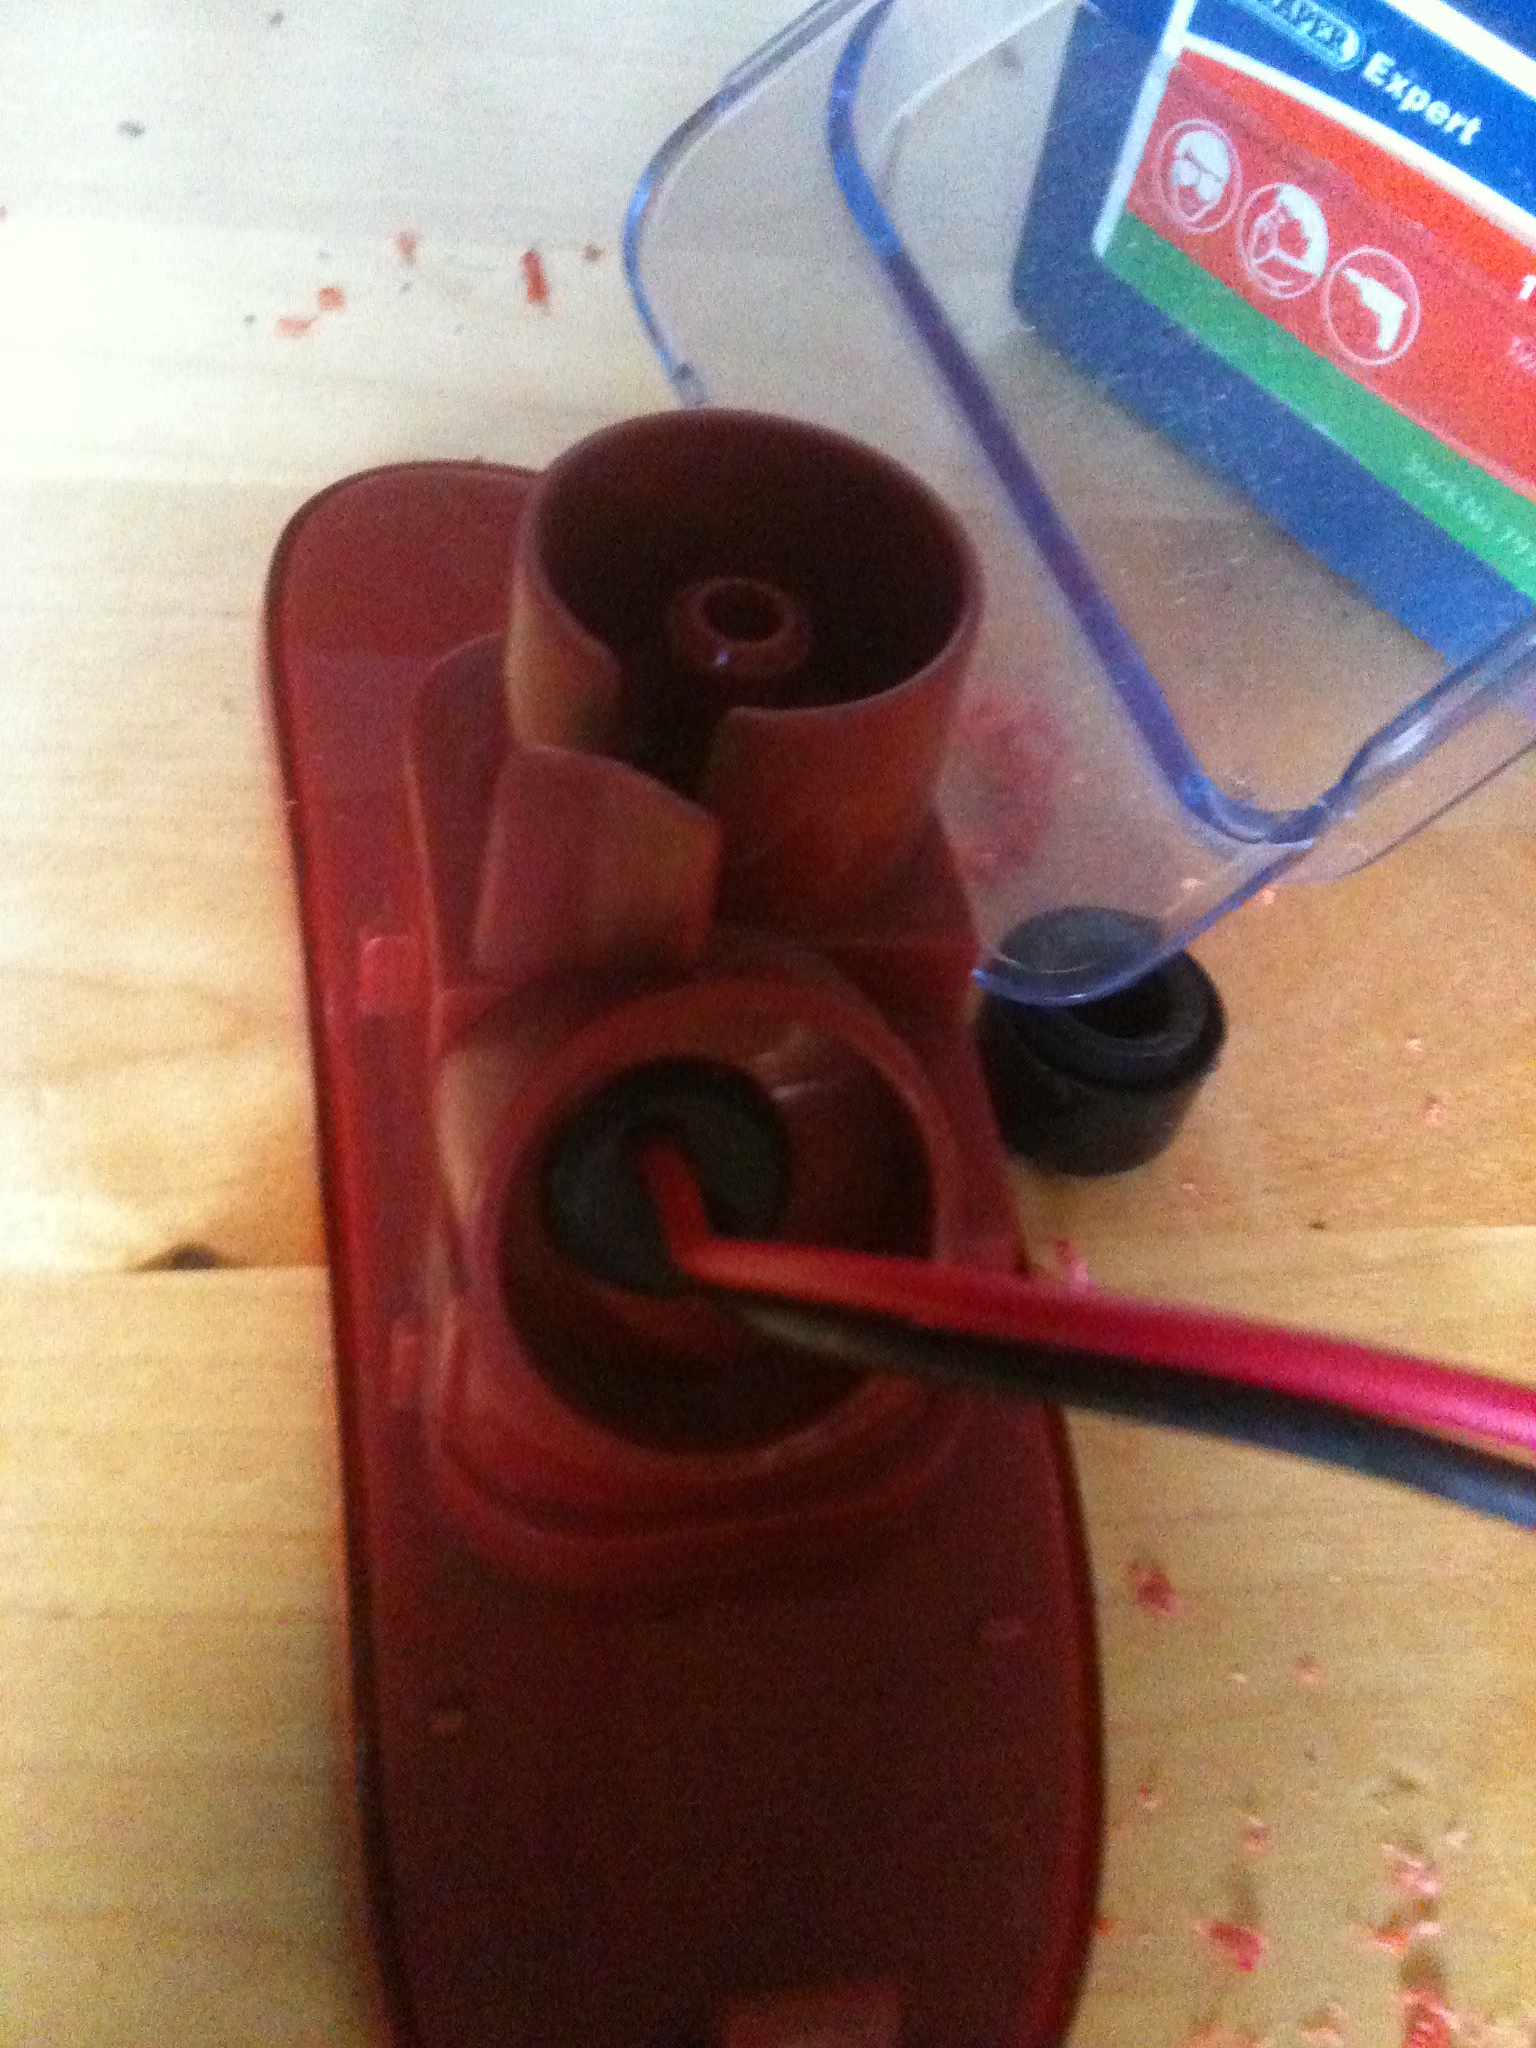
Snip the mould dot off and this usually leaves you with a handy centre punch type divot to guide the pilot drill bit. If not start slowly with the pilot bit and as your drilling plastic it will bite fairly easily. Take it steady as you don’t want to fly through and hit the back of the lens and you also want to avoid getting swarf inside the unit as it’s tough to remove later. Next using the step bit enlarge the hole to the size of your bulb holder, I say use a step bit as it will produce ribbons of plastic which are
easier to clear away than the little chips a drill bit produces.

Wiring the Bulb holders to the light units
There is a side light marker plug in the rear of the car but getting from here to the rear side markers is a bit of a task and taking a feed from the rear light was the simpler method for me so that’s what this guide shows. I am not too bad with a soldering iron and have one so prefer the more solid connection it makes so
that’s what I used. If you don’t have one or don’t want to make the mod permanent you could use crimps or skotch locks to form all the joins but Soldering is really the best way as ensures solid connections that won’t fall apart with vibration etc.
The rear light feed is the one directly below the black earth wire. On my units this is the blue wire but knowing car electrical looms over the years it could be any colour on yours, the position however will be the same to have the correct function on the bulb. This live and the earth are the wires you need to tap with your bulb holder. You will need about 600mm of wire between light unit and bulb holder for easy installation but this will leave a bit of a loop behind the bumper to allow for
getting the lights in and out for bulb changing. If you bulb holder only has short tails solder lengths of wire onto them to increase these with a solder joint or crimp and sheath before attaching them to the light unit. It’s worth wrapping the tails with electrical tape at intervals to keep everything neat and together.

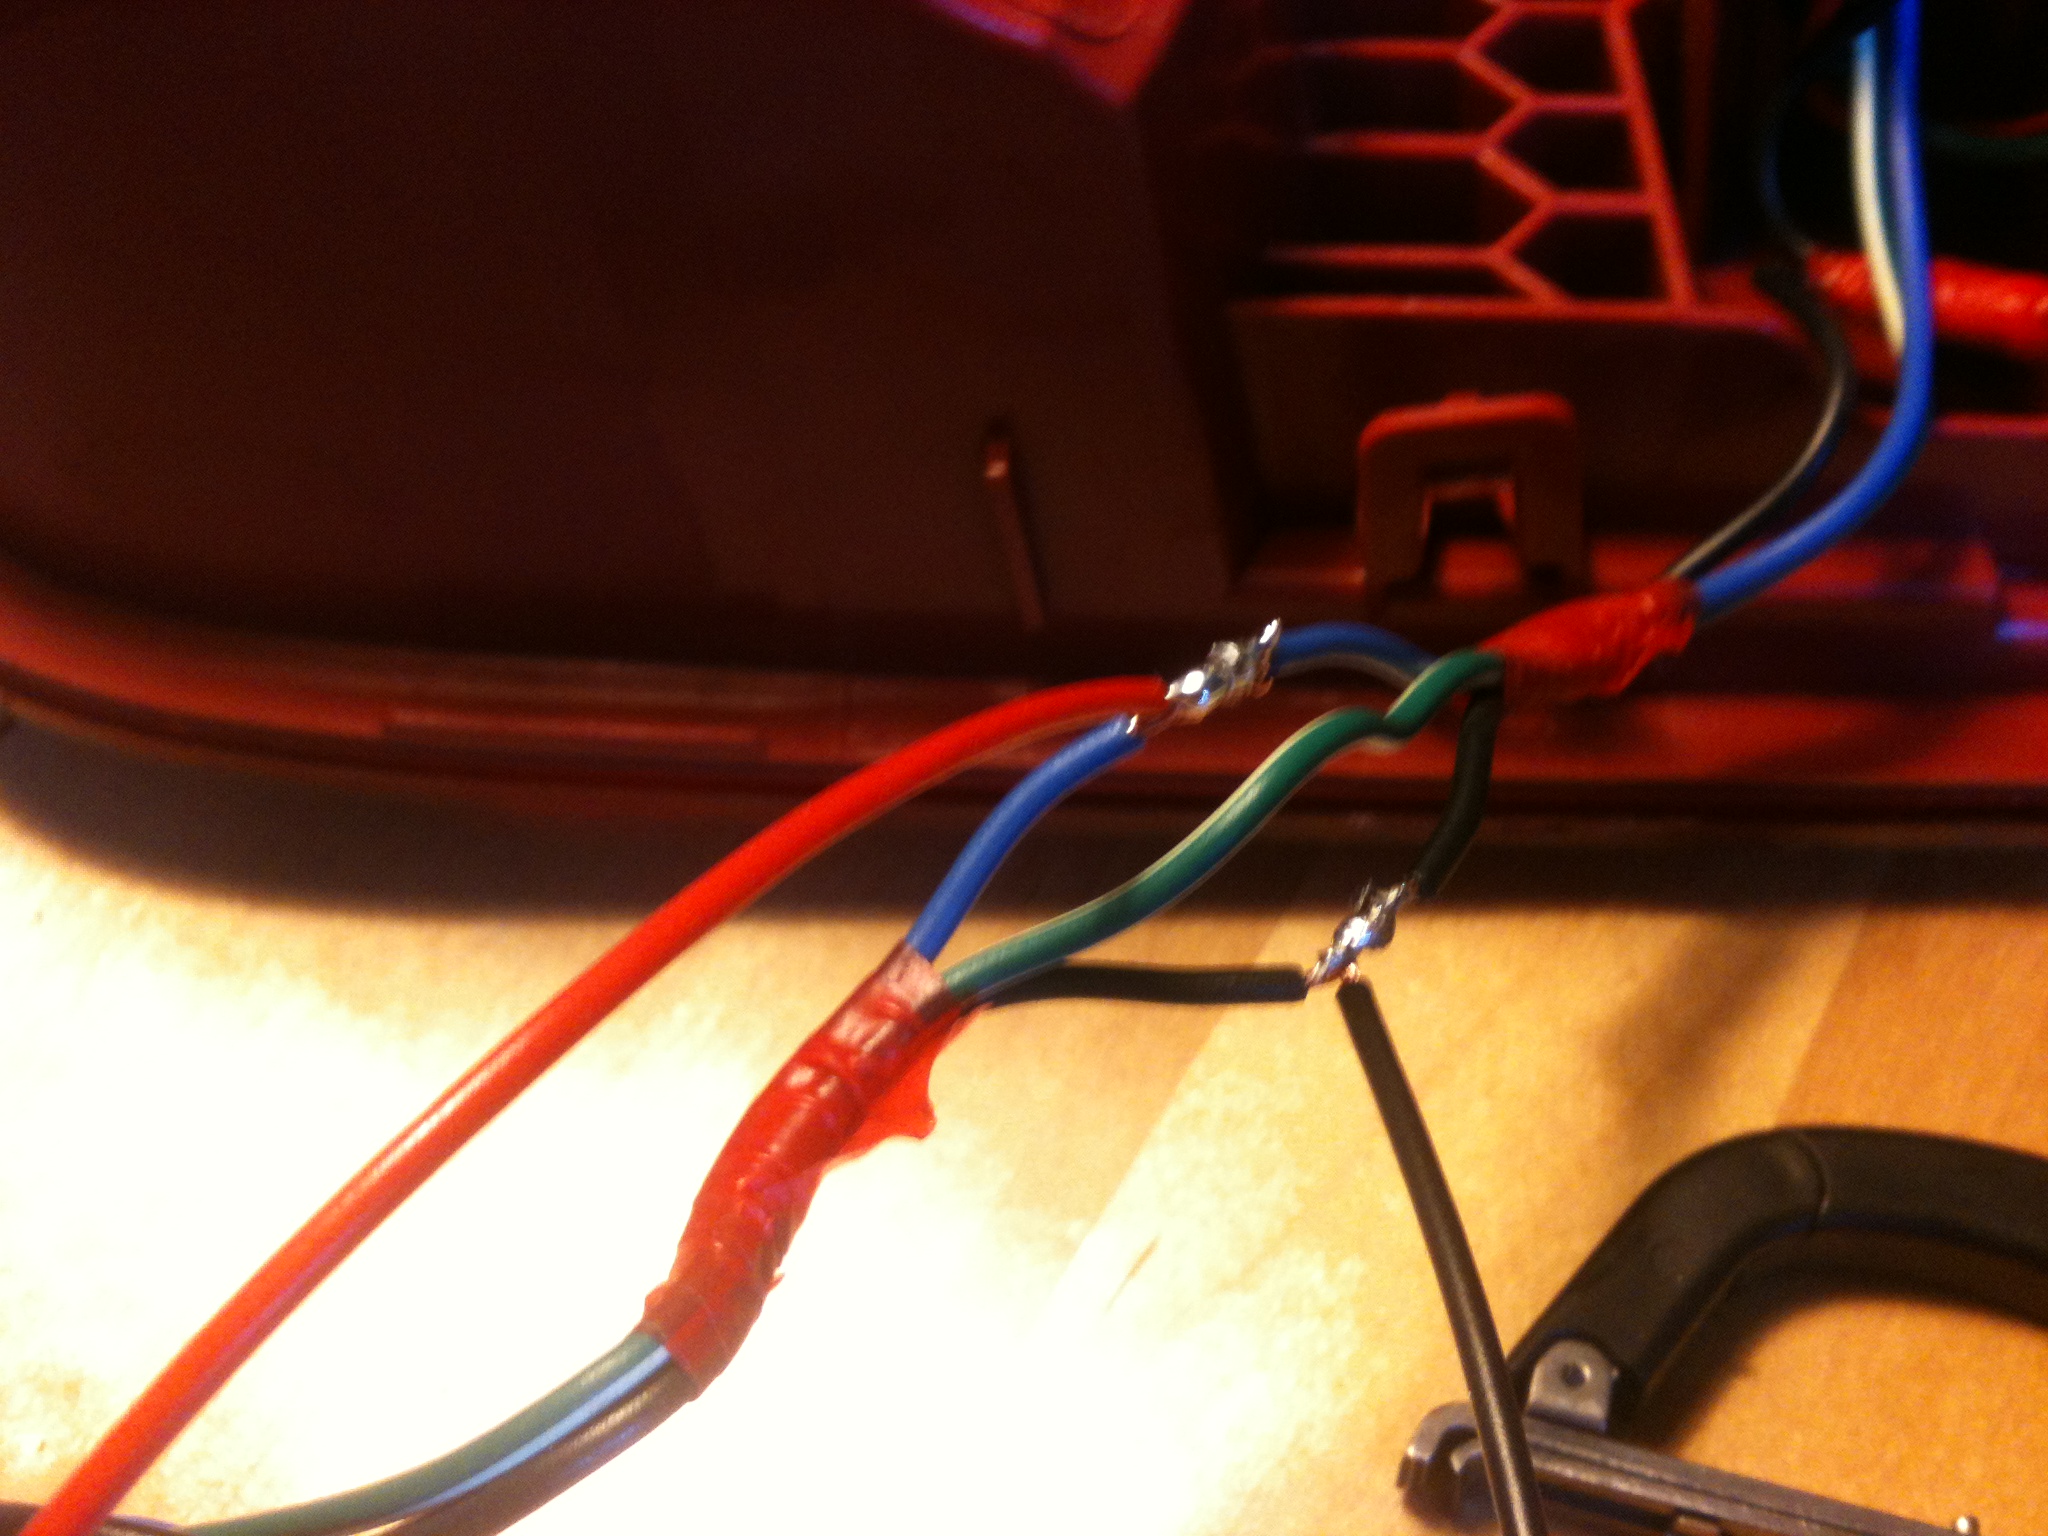
You can either NASA solder your joints or twist. If you’ve not got a set of magnifying clamps I suggest twisting, you’re not going to want to get it apart in the future so the NASA method isn’t really a bonus and without clamps is just fiddly! Remove a centre section of sheathing to the wire on the lamp unit and in my preferred method gently part the fibres making up the wire. Pass the exposed tail of the lamp holder through the gap and pull the wire back tight either side before twisting the tail around. You can just tape this joint as it’s a very solid method of joining wire but soldering it is
better and so solder the joint before wrapping in tape to make water tight.

Once all the joints are completed to both lights it’s time for reassembly. To get the bulb holder into the back of the bumper there is a handy little opening at the end of the light unit close to the top clip position. Pop the bulb holder through here and out through the bumper ensuring the wires pass below the peg on the light for its fixing as this keeps it clear of any snags or pinch points.

Reassembly is the reverse of removal obviously. Key points to take special care of are that when putting the light unit back in go gently, it’s fiddly to get the pegs into the locator clips but it shouldn’t be too hard to do so don’t hit the unit as you’ll crack the cover! Also the black finisher above the light doesn’t seem to wrap all the way over the light unit so it sits slightly proud at the front edge so again don’t hit it to get it flush!!!
Once it’s all back reconnect the battery and put the radio code in, then hit the lights and enjoy your handywork!
T.
